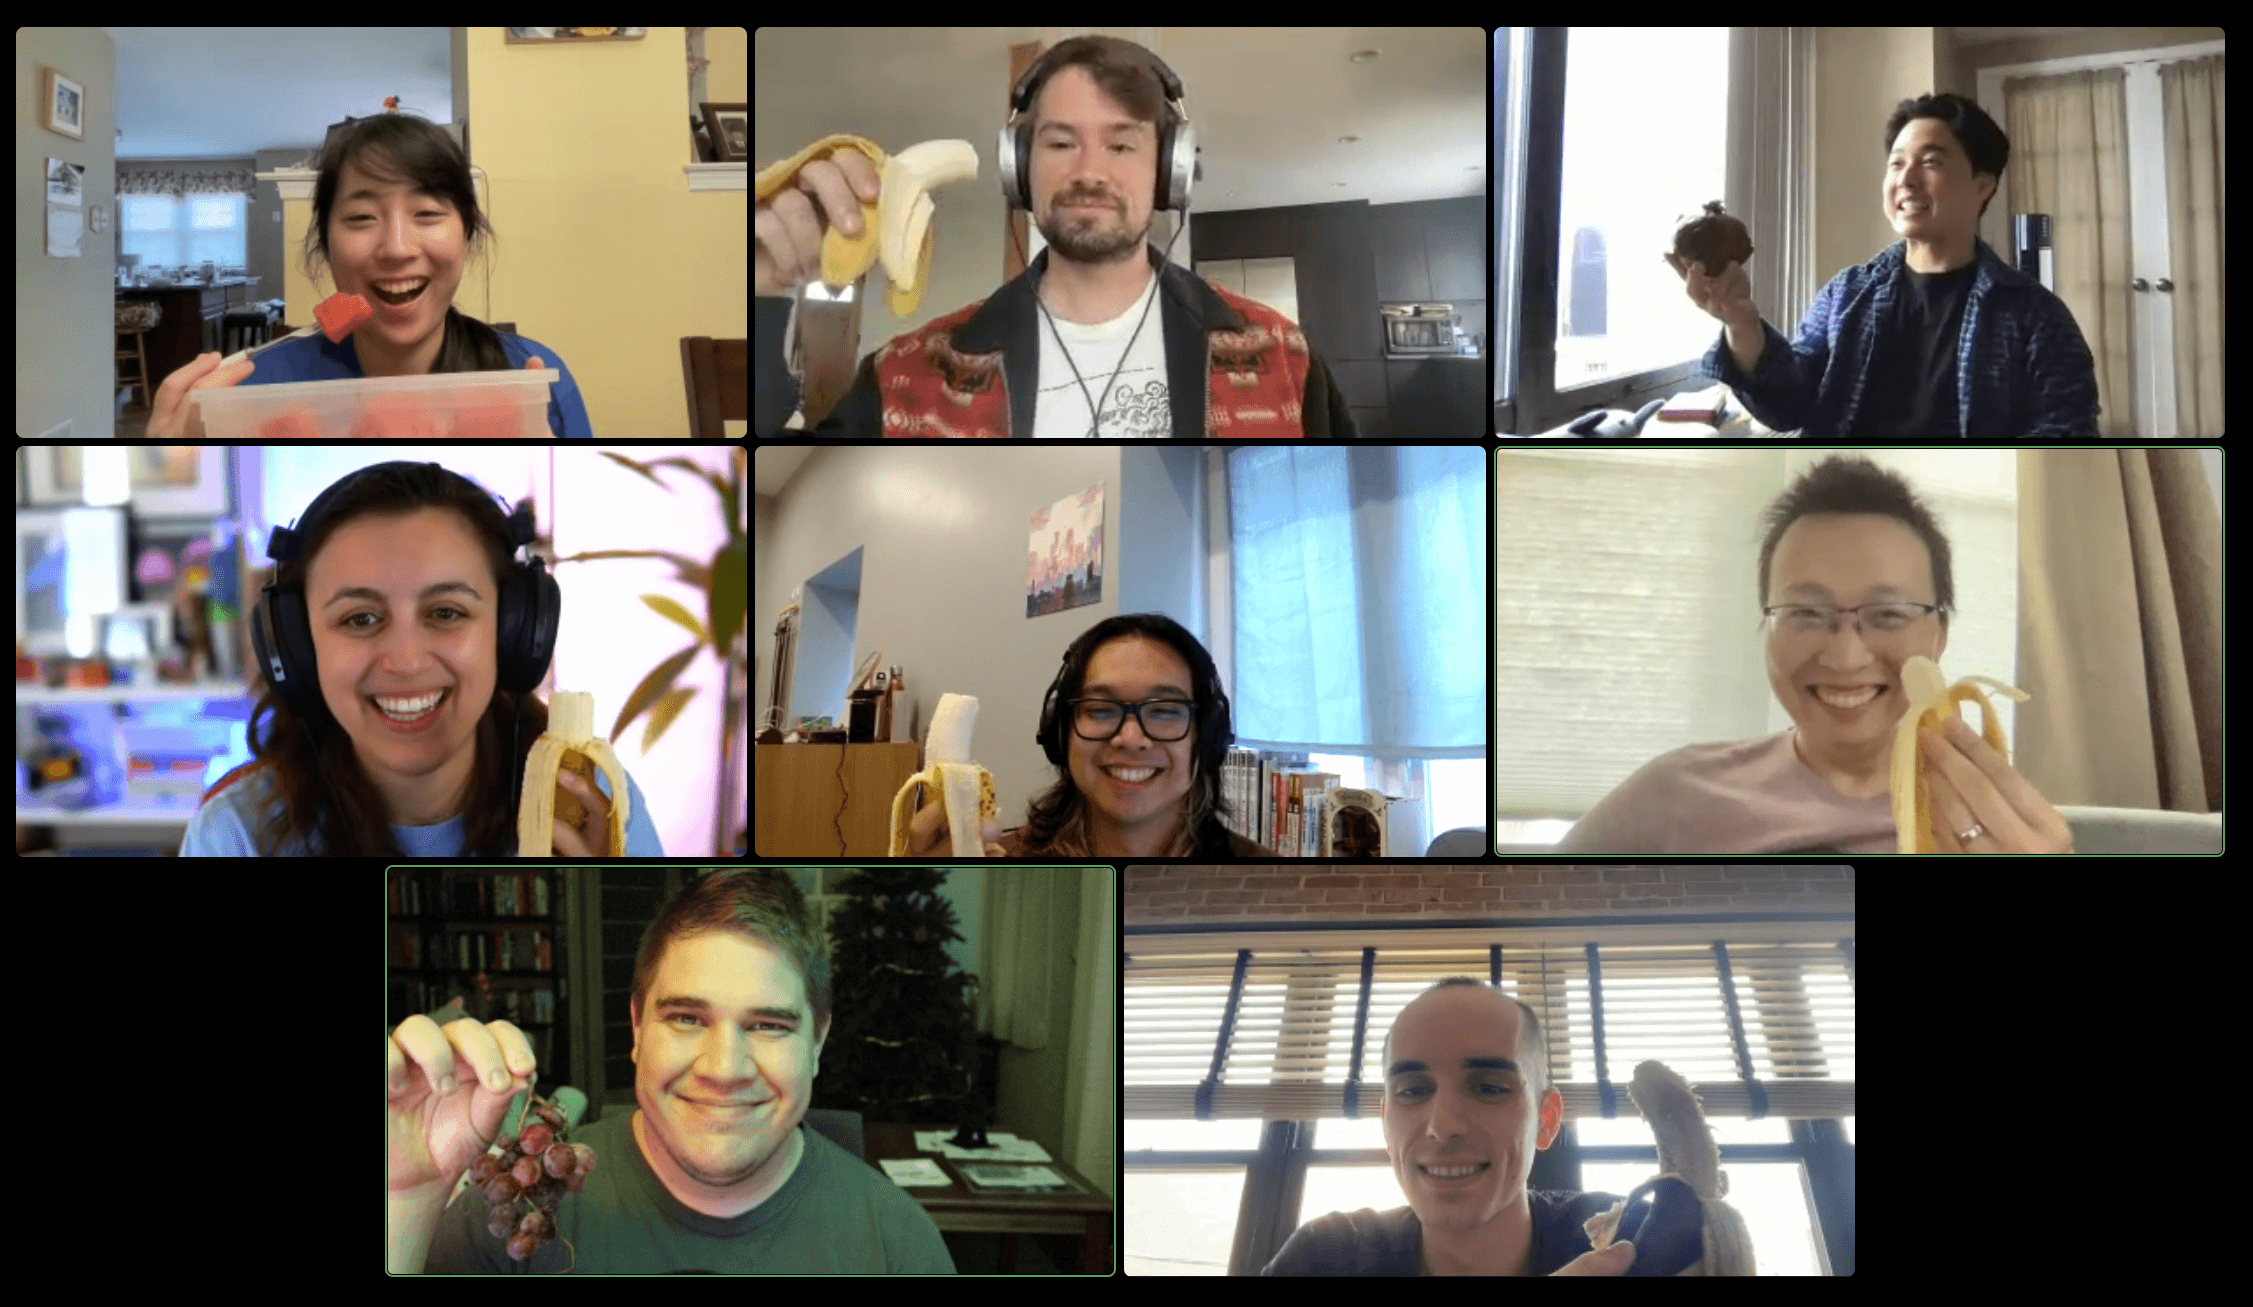
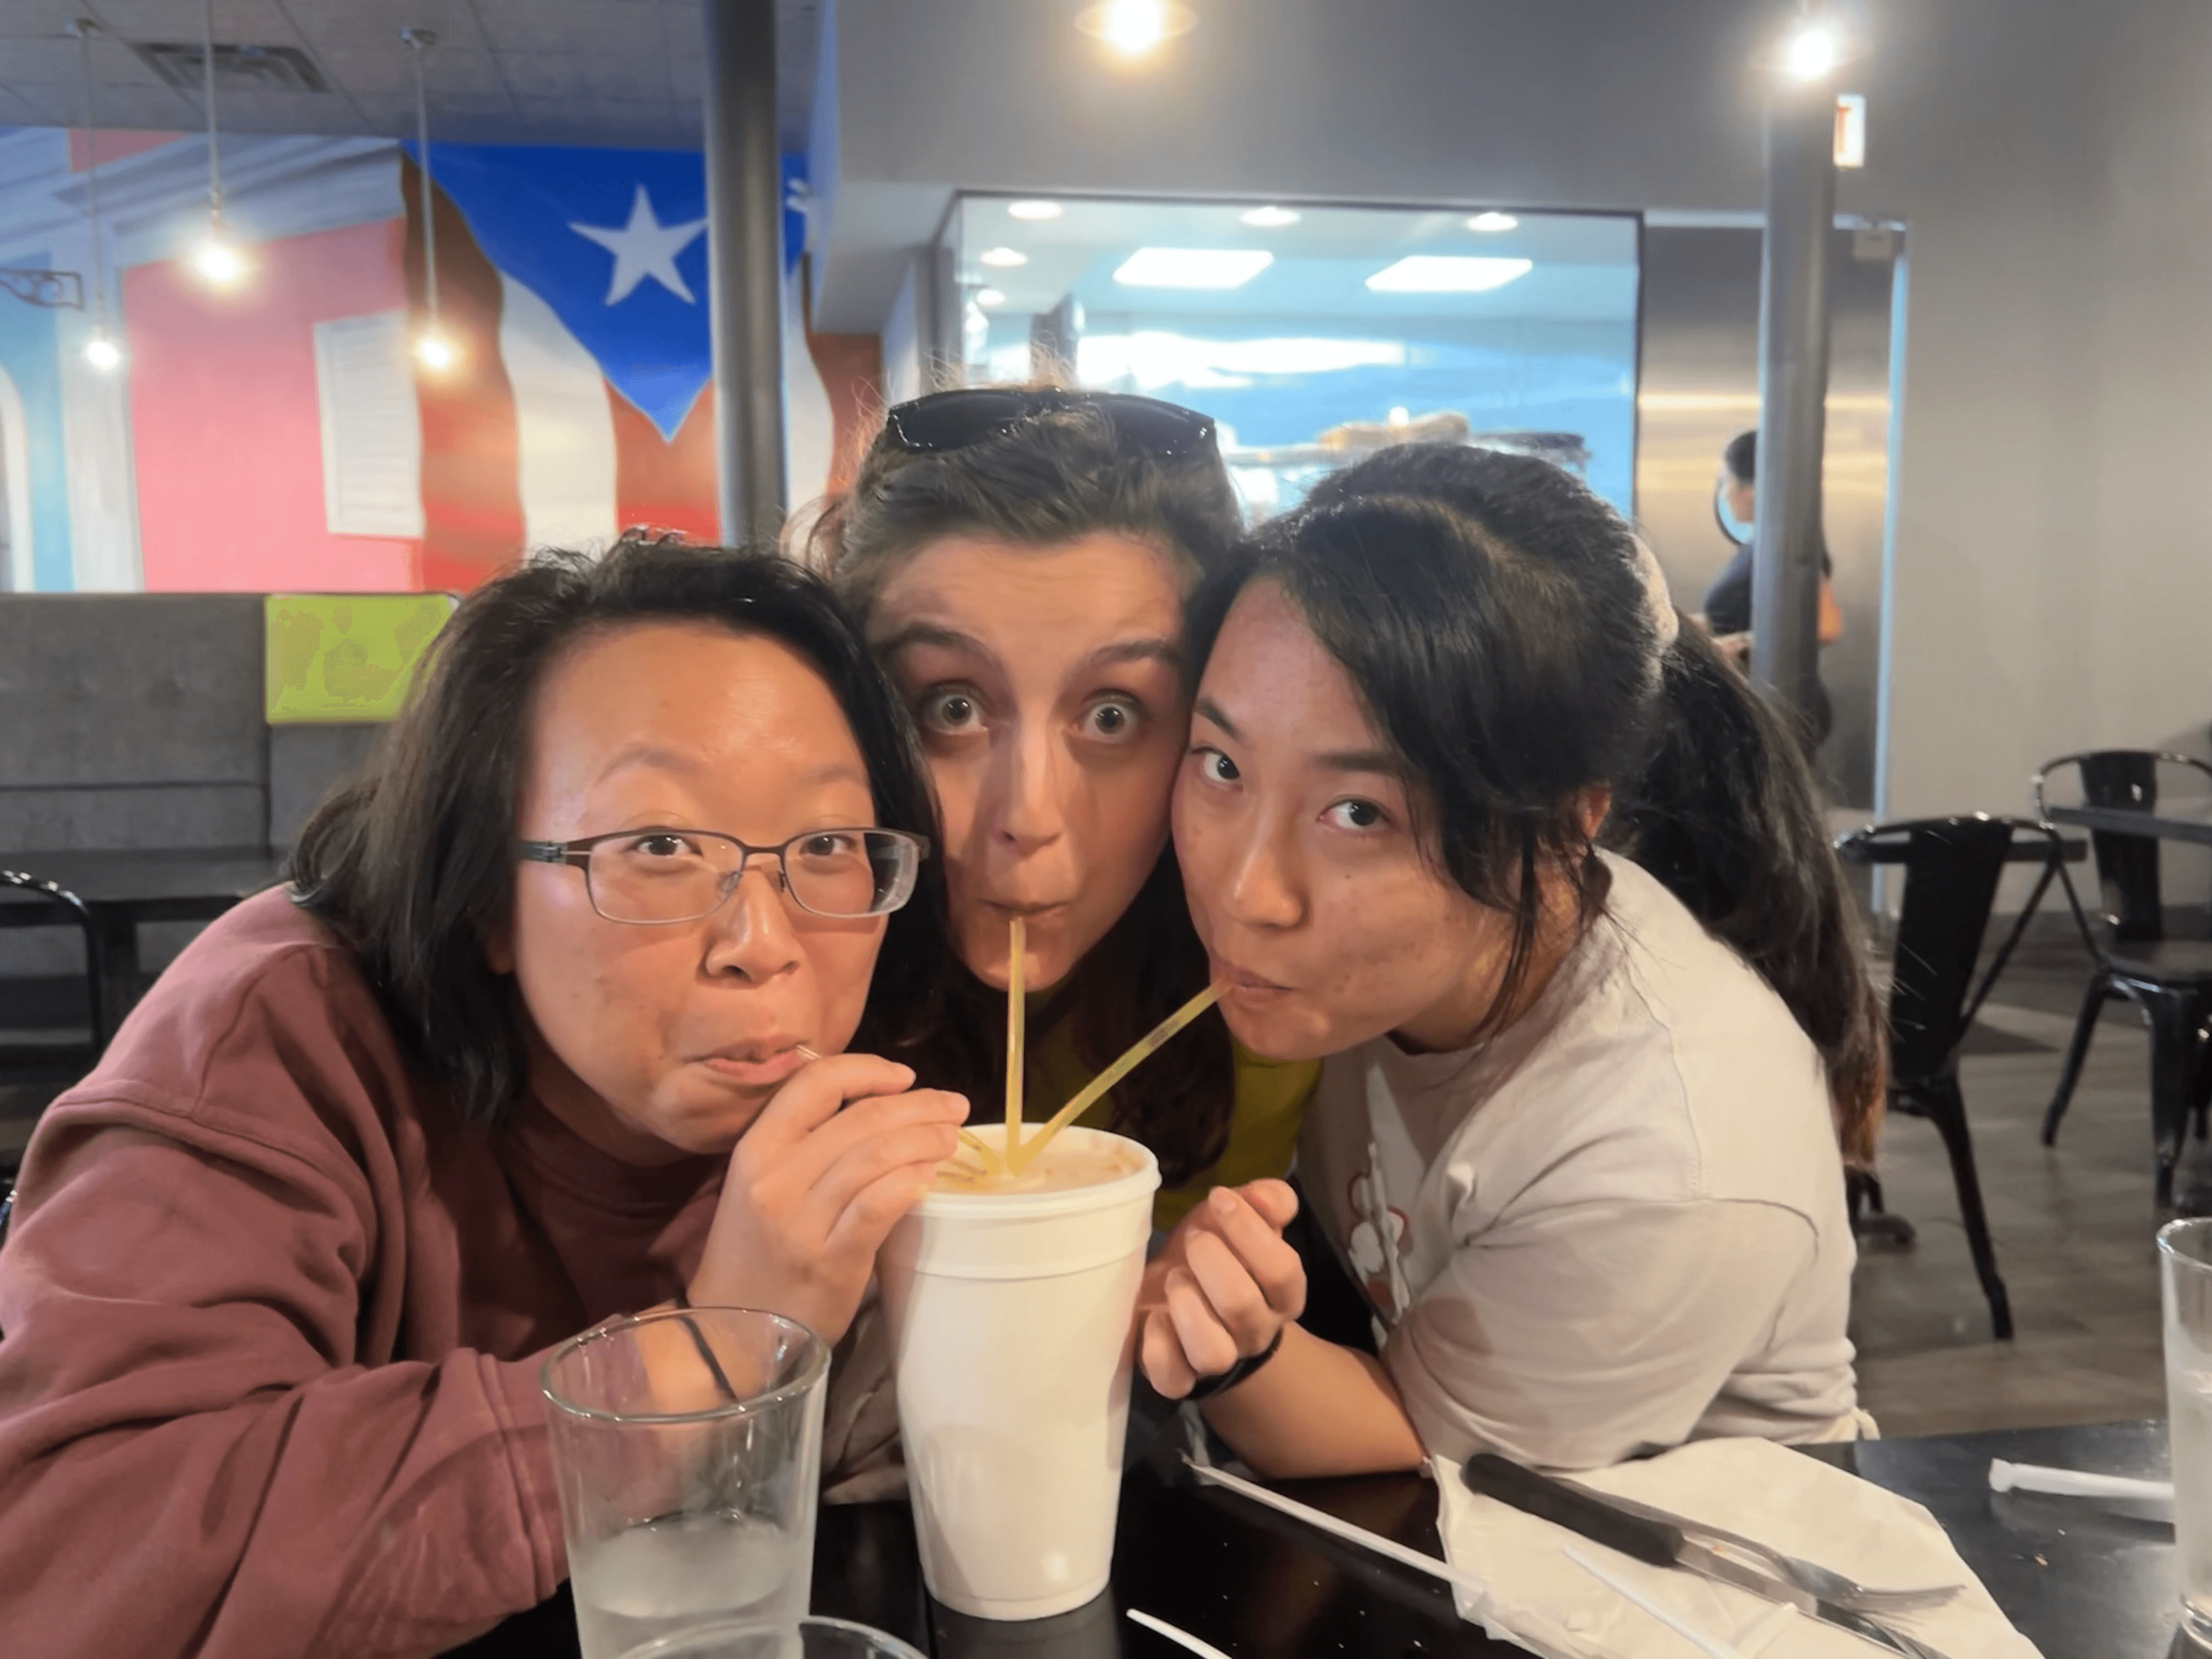
The content catalyst for developer advocates
Take any video, from a conference talk to an interview to a demo, and turn it into effective written content.
Welcome to AI that works for you (not the kind that replaces you 🤖).
Try it outTake any video, from a conference talk to an interview to a demo, and turn it into effective written content.
Welcome to AI that works for you (not the kind that replaces you 🤖).
Try it outNew content is created that matches the accuracy and tone of the existing content. Unlike other AI copywriting tools, you don't have to provide any guidance or details to the model!
Contenda transforms original content into ready-to-share pieces, meant for your blog, Twitter, LinkedIn, and more. Watch it happen in this demo:
I wanted to build something creative and fun, so I decided to make a choose your own adventure book.
For those of you who haven’t seen them before, choose your own adventure books have multiple endings. You can make decisions on every page that affect the outcome of the story. I thought it would be fun to build one of these, so I had to figure out what kind of data structure I wanted to use.
Graphs are a better data structure for this type of story because you can have multiple paths that converge and loop back around. However, we need to be a little more specific and use a directed graph so that people can’t just jump to any path they want. A directed graph looks almost exactly the same as an undirected graph, except it has arrows for directions.
We’re going to use state machines to navigate the different nodes in the story. State machines are a way to navigate these different nodes where you’re always in one spot (you’re never in multiple states at once). User input will drive the state machine. To implement this, we’ll use the X state library. X state is built on top of reducers and works well with React.
I wanted to add a little bit more customization on top of the state machine by adding a crowdsourced mad lib choose your own adventure story. To do this, I used Netlify Forms and Netlify Functions. React and Next.js have a state machine that gets data from Hasura, which is triggered by a Netlify form. On top of all of this, it is Halloween, so we need a spooky brain.
There’s an inspector package from state-charts.io that you can use to generate a graph of your state machine. This makes it easy to visualize the story and create a directed graph. The graph shows the start of the story, then when we get to snack time, we can either eat an apple or eat candy. If we eat candy, the doorbell will ring and we can either ignore the kids at the door or answer the door.
After gathering all this information, I put it into a giant javascript object. This object is in the state machine.js file. I structured it out with different levels of the story. The first level is the introduction, then the second level are the choices, and the third level is the stories.
We’re going to create a state machine for our story application. Each character will have a name, pronouns, and favorite smell.
export const storyMachine = (character) => {
let name = character?.name;
let pronouns = character?.pronouns;
let smell = character?.smell;
};
The state machine will be used to determine the different options for the story. Once the user chooses an option, the story will branch off in that direction. The application will be a little bit spooky and have a Halloween theme. The user will have the option to either get spooky and get right into the story or to contribute a character.
const introVals = {
start: "start",
kitchen: "snack-time",
};
const firstLevel = {
apple: "eat-an-apple",
kidsringing: "eat-some-candy";
};
const secondLevel = {
ignore: "ignore-the-kids",
answer: "answer-the-door",
};
const thirdLevel = {
upstairs: "stomp-upstairs";
tiptoe: "tiptoe-upstairs",
lockdoor: "lock-the-door";
callout: "ask-if-anyone-is-out-there";
};
In this example, Zombie took a break to go to the kitchen and snack on some candy. However, the doorbell rang and he had to make a decision on whether to answer it or not. If he answers it, he finds that there is nobody there. However, a werewolf pops up and asks if he’s heard of Typescript before eating him.
At the end of the story, you have the option to add in your own personality as a character. The character form is simply an HTML form. The only exception is the ‘send’ function, which toggles a function that sends the form data to the server.
If the data-netlify
value is set to true, Netlify automatically captures form submissions.
For example, if we want to use my coworker Lindsay in the story, we can fill out the form with her information and submit it.
Once we hit submit, we can go back to the main page and see that Lindsay has been added to the story. If we go over to the Hasura console, we can see that Lindsay has been added to the Characters table. Now, our story is random, but if we refresh the page, we can see that Lindsay is now a character in the story. If we wanted to, we could add more characters and personalities to the story by filling out the form and submitting it.
This file is named submission-created.js and is located in the /functions directory. When Netlify sees this file, it knows that a form submission has happened on the site. The mutation here in the GraphQL adds the character to the Hazara database. There is also a file named get-character.js which contains a query to Hazara that pulls in all of the different characters. A random character is chosen from this list.
const getCharacters = async () => {
const response = await fetch(process.env.HASURA_URL, {
method: "POST",
headers: {
"X-Hasura-Admin-Secret": process.env.HASURA_ADMIN,
},
body: JSON.stringify({
query: "
query QueryCharacters {
name
pronouns
smell
}
}
",
Now that we have these functions in place and our state machine, we can look at some of the other parts of the codebase. In the state machine, we have the name, pronouns, and smell coming from the character pronouns. Depending on what pronouns the character uses, we can generate different functions for personal pronouns, possessive pronouns, and reflexive pronouns. These are then added to the story as a string.
The name of this file is […story]. So it’s a spread of stories here. This is because as you navigate in the page, the URL on the site actually changes. It shows the path of the story based on the URL. In order to accomplish this, I took the actual story value from the state machine. I also checked if there were any next events in that state machine. If there are events coming up, we’ll take each of those and put a button side by side. We have this router as a path right here. And so you can see what was happening there. If someone were to get rid of one of the parts of the URL, I was able to just start them over so they were never in a funky state where the URL wasn’t working entirely properly.
The last thing I’d like to show off is the package next-on-netlify. Next on Netlify is the package that we’ve been working on and I’m so excited to show it off to you.
This is a package that allows you to use some of the server side rendering parts of Next.js with Netlify functions. Netlify functions are the ones that actually run routes that you wouldn’t normally get to use if you were just using a plain static site on Netlify. To install it, add “Next on Netlify” to your package.json:
"next-on-netlify": "^2.5.1"
And make sure your next.config.js has:
module.exports = {
target: "serverless",
};
If you want to add your own submissions and try it out yourself, you can go to next-adventure.netlify.app.
Building a choose your own adventure game with Next.js #nextjs #javascript
To make a Mad Lib choose your own adventure story, we’ll need to use a state machine to navigate the different nodes. We can use the library XState to help with this. In addition, we’ll need to use React and Next.js to make the story interactive.
First create a state machine in XState using the inspector package. This will help you to visualize the different states and choices in your story. Then, add your own styling and navigation to the app!
I had so much fun building a choose your own adventure story with Next.js and XState!
Thanks for coming on this spooky adventure with me! Check out the full tutorial and talk here:
https://www.youtube.com/watch?v=_qkoAPRG2wY
We’re going to start by applying transformations to the title. We’ll
take the title and overlay it on top of the image.
Let’s create a function for our title called getTitleTransformations
.
const getTitleTransformations = (title) => {
return {
overlay: {
font_family: 'Montserrat',
font_size: '40',
font_weight: '900',
text: title,
text_align: 'center'
},
width: 500,
color: '#ffffff',
y: '0',
x: '-210',
crop: 'fit'
}
}
What we’re going to do is return an object. Inside of this object, we’re
going to have an overlay property. We’re going to use a font family of
Montserrat for all of these. You can pick whatever font and font size
you want.
We’ll do a font size of 40 and font weight of 900, which is going to be heavy. We’ll do the text here is going to be the title and then we’ll do text align of center.
Turn technical tutorials into ready-to-use content, complete with code snippets and screenshots.
Case Study: Devs For Ukraine conference
In less than 24 hours...
Contenda ingested, transcribed, and summarized 2 days of conference talks.
Contenda produced tweet threads summarizing each talk throughout the
event.
Contenda produced a roundup blog to increase the top of funnel
engagement for the conference recordings.
Read the blog post here.